How to Prep Before Pouring Concrete in Red Deer
Your Concrete Contractor
Pouring concrete is a lot like baking: the ingredients matter, but the preparation and environment are what make or break the final result. In Red Deer, where the weather can swing from a blistering 30°C in July to a bone-chilling -30°C in January, "environment" takes on a whole new meaning.
Whether you are planning a new driveway, a backyard patio, or a foundation for a garage, proper preparation is the difference between a slab that lasts for decades and one that cracks after the first winter. It’s not just about digging a hole and calling the cement truck. It’s about understanding the soil beneath your feet, the air around you, and the specific demands of the Central Alberta climate.
This guide will walk you through the essential steps to prepare for a successful concrete pour in Red Deer, ensuring your hard work stands the test of time (and temperature).
Understanding Red Deer's Climate
If you’ve lived in Red Deer for more than a year, you know the climate is… spirited. For concrete, however, it’s hostile. The biggest enemy here isn't just the extreme cold; it's the freeze-thaw cycle.
Red Deer experiences frequent fluctuations where temperatures dip below freezing at night and rise above freezing during the day, particularly in spring and fall. When water gets into the microscopic pores of concrete and freezes, it expands by about 9%. This internal pressure can cause scaling (flaking of the surface) and deep structural cracking.
According to climate data from 1991 to 2020, Red Deer sees an average of over 110 frost-free days, but the shoulder seasons are long. The soil can heave as moisture freezes and expands, pushing your concrete slab up, and then drop it back down when it thaws. If your preparation doesn't account for this movement, your concrete will break under the stress.
Site Inspection and Preparation
Before you buy a single board for formwork, you need to look at the ground.
Clearing and Excavating
Start by removing all organic material—grass, roots, and topsoil. Organic matter acts like a sponge; it holds water, which is exactly what you don't want under your slab. In Red Deer, you generally need to dig down far enough to accommodate your gravel base (usually 4 to 6 inches) plus the thickness of the slab (another 4 to 6 inches).
The Subgrade
Once the topsoil is gone, you’re left with the subgrade. This natural soil needs to be uniform. If you have soft spots, dig them out and replace them with better soil or gravel.
The Subbase (Gravel)
This is critical for Alberta winters. You generally cannot pour directly onto dirt here. You need a 4-to-6-inch layer of crushed gravel (road base) compacted tightly. This gravel layer creates a capillary break, preventing ground moisture from wicking up into the concrete. It also provides a stable, non-frost-susceptible cushion that allows for slight ground movement without breaking the slab.
Pro Tip: Compaction is key. Rent a plate compactor. A hand tamper won't give you the density you need to prevent settling.
Formwork Setup
Your forms are the mold for your project. If they aren't right, your concrete won't be either.
- Material: Use straight 2x4 or 2x6 lumber. Avoid warped boards, as concrete will mirror every imperfection.
- Level and Slope: Your slab should look flat but act sloped. You need a slope of about 1/4 inch per foot (2%) away from any structures (like your house) to shed water. Use a string line and a level to verify this slope.
- Staking: Concrete is heavy—about 150 lbs per cubic foot. It will push against your forms with tremendous force. Place wooden stakes every 2 to 3 feet behind the forms and screw the forms to the stakes.
- Square it Up: Use the 3-4-5 method or measure diagonal corners to ensure your square or rectangle forms are perfectly square. If the diagonals are equal, you are square.
Reinforcement Installation
Concrete has high compressive strength (you can park a truck on it) but low tensile strength (it pulls apart easily). That’s why you need reinforcement.
- Rebar (Reinforcing Bar): For driveways and garages, 10M (10mm) rebar placed in a grid pattern (usually 16 to 24 inches apart) is standard. It provides significant structural strength.
- Wire Mesh: For sidewalks or patios, heavy-gauge wire mesh is often sufficient.
Crucial Step: The reinforcement must sit in the middle of the slab, not on the bottom. Use "chairs" (small plastic or concrete supports) to elevate the rebar or pull the mesh up as you pour. If the metal sits on the gravel, it does nothing to strengthen the concrete and will rust quickly.
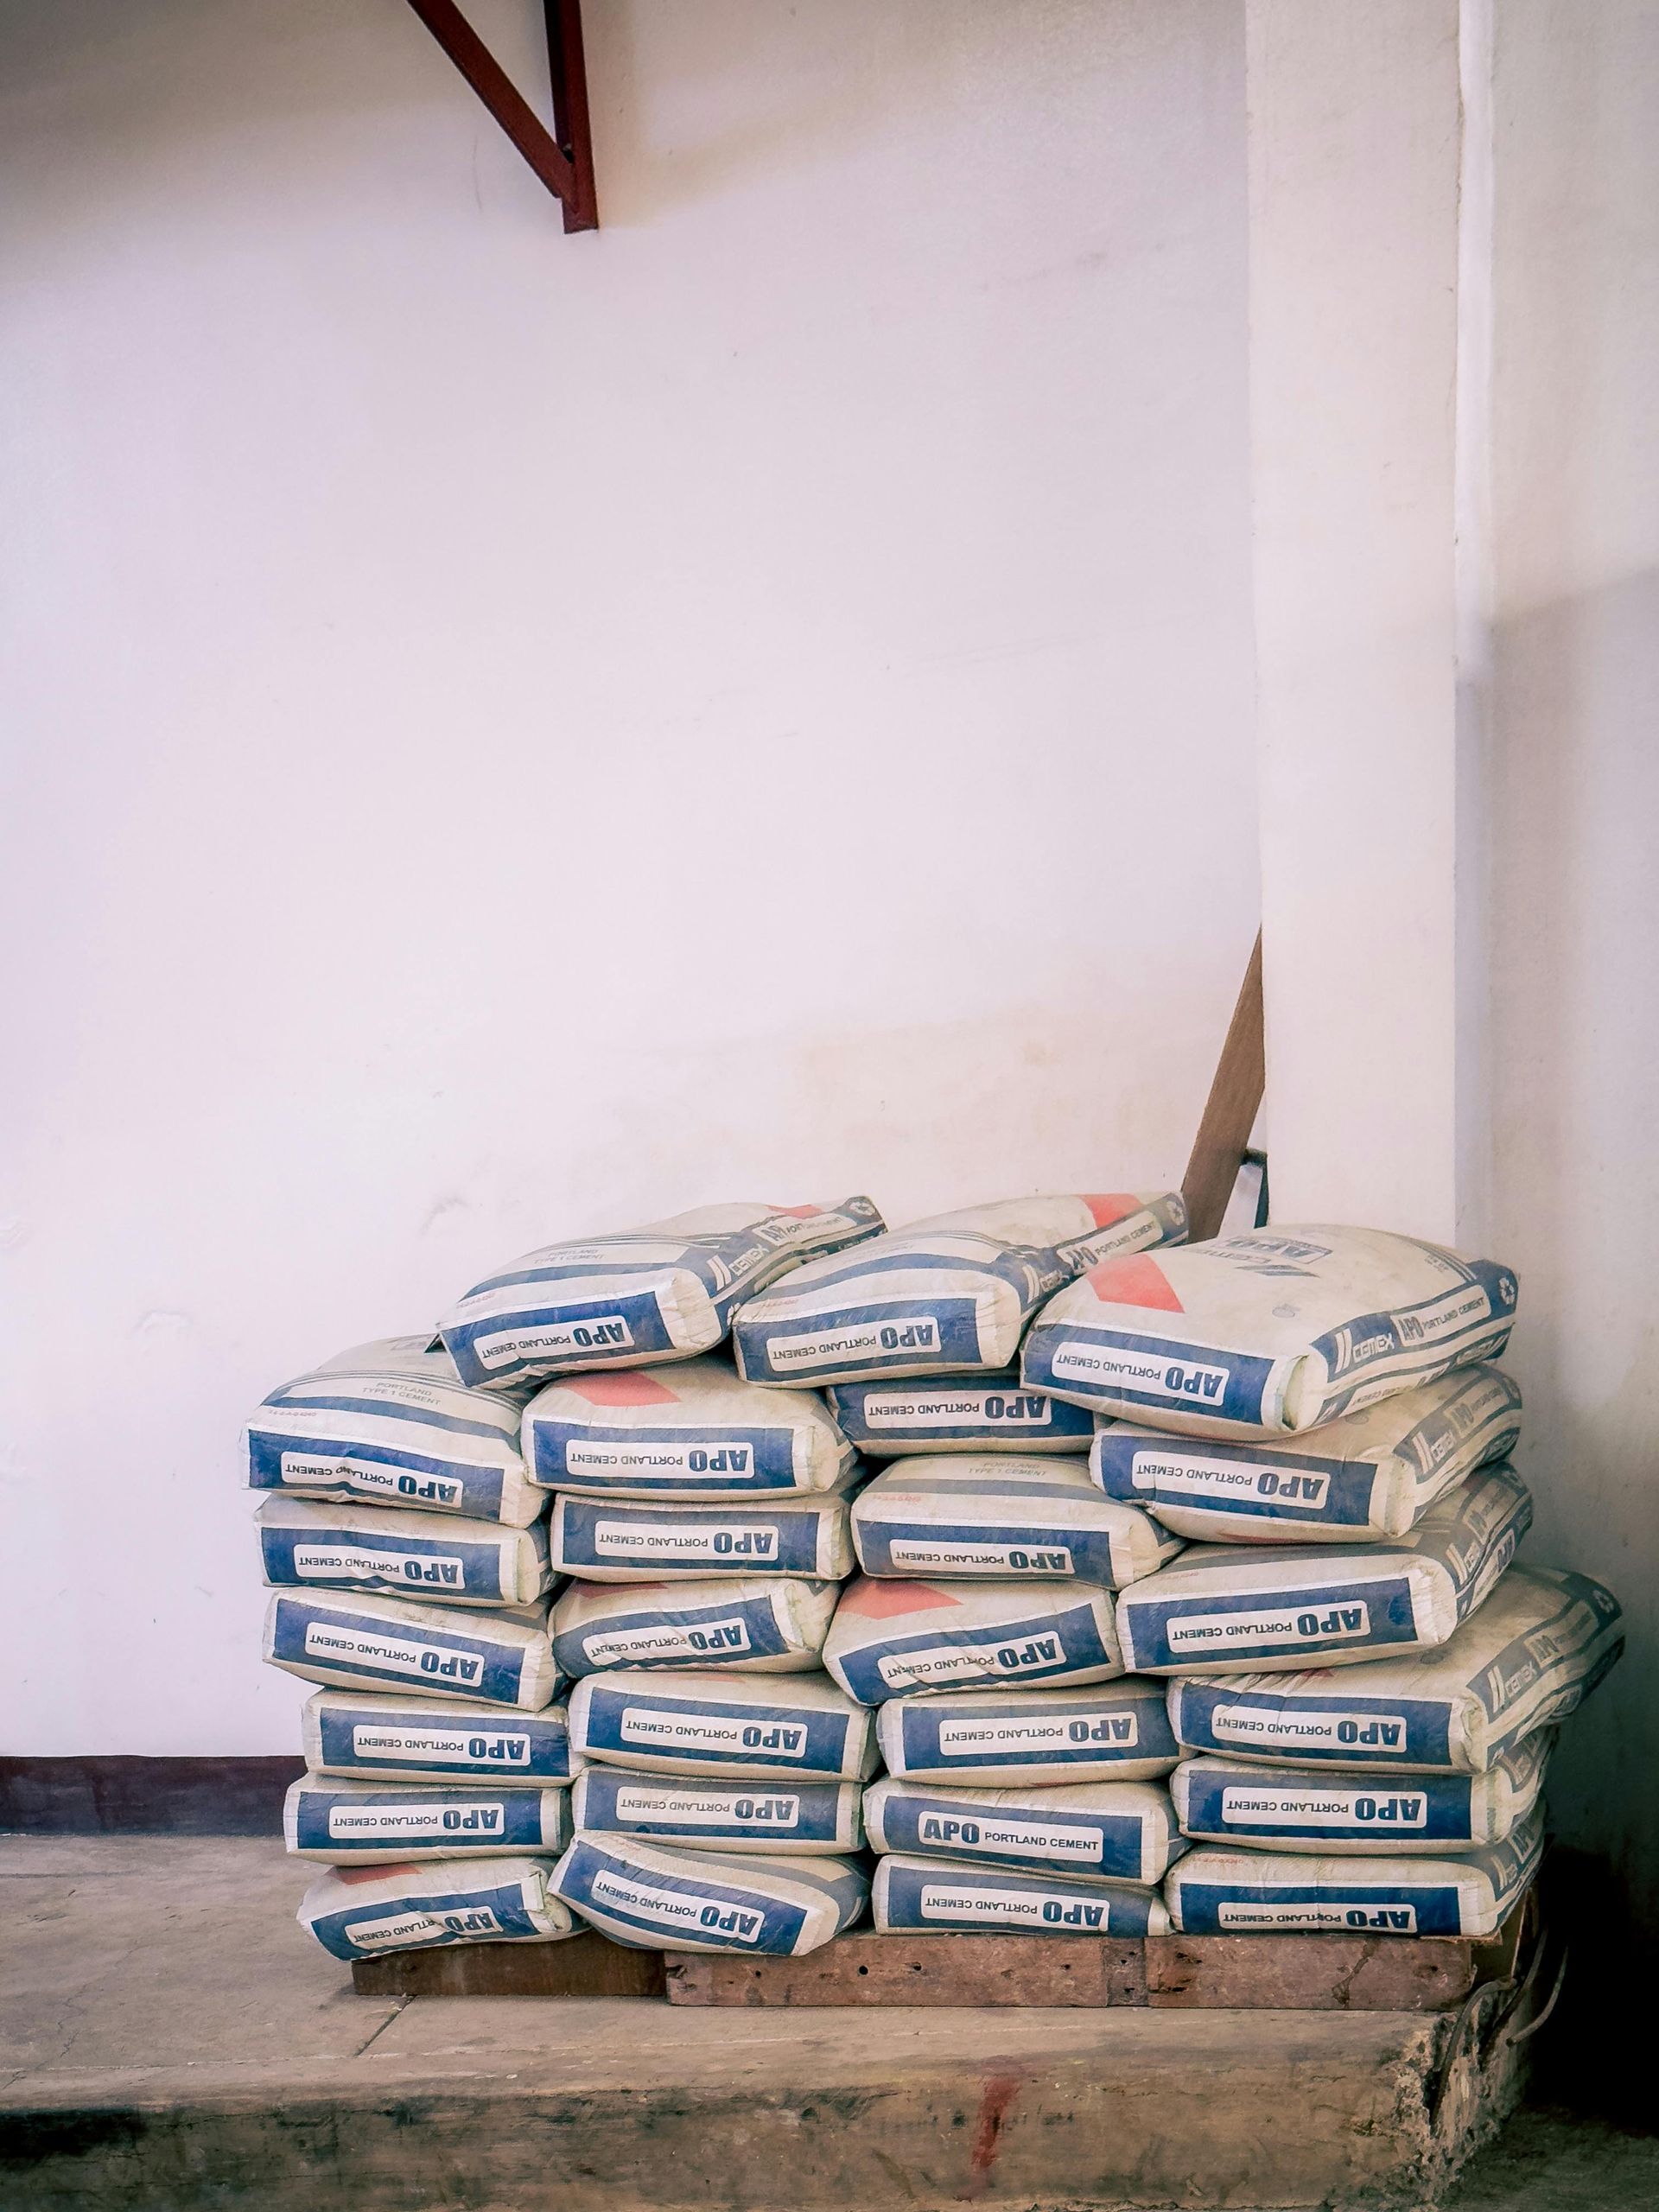
Concrete Mix Selection
In Red Deer, you can't just order "standard concrete." You need a mix designed for Exposure Class C-2 (concrete exposed to chlorides/salt and freezing) or at least F-2 (freezing and thawing).
When ordering from a local supplier, specify the following:
- Strength: Aim for a minimum compressive strength of 32 MPa (megapascals). Stronger concrete is denser and more resistant to water penetration.
- Air Entrainment: This is non-negotiable. Air entrainment introduces billions of microscopic air bubbles into the mix. These bubbles act as relief valves for freezing water, giving it space to expand without cracking the concrete. For Red Deer, target an air content of 5% to 8%.
- Slump: Don't ask for a "wet" mix. Adding too much water at the site weakens the concrete and ruins the air entrainment. Ask for a moderate slump (around 80-100mm) and use a superplasticizer if you need it to flow better.
Pouring and Finishing Techniques
Timing
Check the forecast. Avoid pouring if temperatures are expected to drop near freezing within 24 hours unless you have heating blankets. Ideally, pour on a cool, overcast day. Hot, windy days in Red Deer can cause the surface to dry too fast (plastic shrinkage), leading to surface cracks.
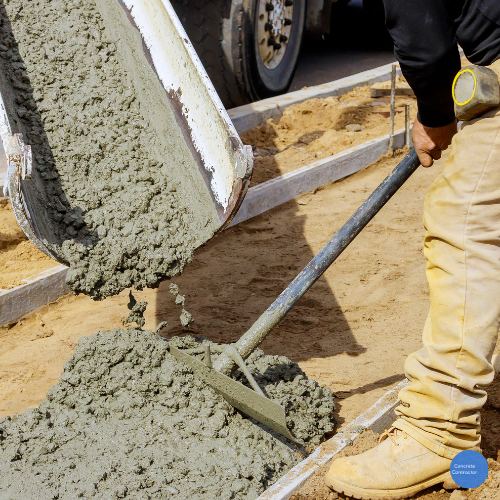
Placement
Pour the concrete into the forms continuously. Do not start at one end and stop for lunch; you will get a "cold joint" where the two batches meet but don't bond. Use a rake or shovel to pull the concrete into place—don't rely on the rake to move it long distances, as this separates the aggregate (rocks) from the cream (cement paste).
Screeding and Floating
- Screed: Use a straight 2x4 to level the concrete with the top of your forms. Saw back and forth while pulling it toward you.
- Float: Immediately after screeding, use a bull float to push down the aggregate and bring the smooth "cream" to the surface.
- Wait: This is the hard part. Wait for the "bleed water" (shimmering water on the surface) to disappear. If you finish while bleed water is present, you will weaken the top layer, leading to dusting and scaling later.
Curing Process
Curing is the process of maintaining moisture and temperature in the concrete so it can reach full strength. In Alberta's dry climate, this is vital.
If concrete dries out too fast, it shrinks and cracks. You have three main options:
- Water Curing: Keep the slab continuously wet with a sprinkler or soaker hose for 7 days. This is effective but labor-intensive.
- Curing Compounds: Spray a chemical curing compound on the surface once the finishing is done. This creates a membrane that locks moisture in.
- Covering: Cover the slab with polyethylene sheets or wet burlap.
Cold Weather Note: If the temperature drops below 5°C, the chemical reaction that hardens concrete slows down. If it hits 0°C, it stops. If the fresh concrete freezes, it is ruined. Use insulated curing blankets to keep the heat generated by the concrete trapped inside.
Common Mistakes to Avoid
- Adding water on site: Drivers will ask if you want to add water to make it easier to rake. Just say no. It destroys the durability of the mix.
- Inadequate base compaction: If your boots sink into the gravel, it’s not compacted enough.
- Ignoring drainage: If water pools against your slab, it will undermine the base. Ensure proper grading away from the concrete.
- Overworking the surface: Troweling too much or too early traps bleed water and creates a weak surface layer that will pop off (spall) after the first winter.
Conclusion
Pouring concrete in Red Deer is a battle against the elements, but it’s a battle you can win with preparation. By respecting the subgrade, choosing the right air-entrained mix, and curing patience, you can create a durable, high-quality surface.
While small pads and sidewalks are great weekend projects, large driveways or structural foundations often require professional equipment and experience. If the forecast looks tricky or the scope feels large, don't hesitate to contact us, your local concrete specialist.